Monday, February 11, 2013

Orchard Tree Frame

This card is super simple, and showcases how easy it is to use Memory Box frame die cuts. The die does everything for your card you don't have to add any embellishments to it. It's beautiful on its own.


Supplies:
Memory Box Die 'Orchard Tree Frame'
McRice Medley (trees in background)
Eggplant CS, Lavender CS, Cream CS


Thursday, February 7, 2013

PEEPS

Usually I am the one behind on their Easter cards, especially here on the blog, but I made one already and it's not even Valentine's Day! I was inspired to make this card using this paper because I was trying to organize my paper. Somehow my box for projects I'm currently doing just got all of my new paper thrown in on top of it rather than in their coordinating boxes (holiday, distressed, solids, girl, boy). Well I found this at the very bottom of my projects pile rather than in my holiday bin; I bought it with the intention of snapping a picture of my Easter basket full of PEEPS from Easter last year. Well I never got that picture (or very many other pictures last Easter) so I put this sheet of Sugartree to work on a card. And it's adorable. =)


The ingredients you need to make PEEPS are:

SUGAR


That is Sugartree paper. "Suzanne" #Su55
Shimmery yellow ribbon and green plaid ribbon
Alphabet stamps and a stamp that says "Celebrate"
I used two different alphabet stamp sets to make "EASTER" and "with your peeps".
The Celebrate stamp is by Studio G


Thanks for stopping by! 
Now go find yourself a box of peeps (and then share some with me-YELLOW please!)

Tuesday, February 5, 2013

What's the Buzzz?

So eons ago I colored this image with my Copic markers and I was going through my projects and found the image. I have about 5 of them total stamped out (with the saying as well) in on of my project boxes. Obviously this was another one of those projects that I started and intended to finish but hadn't gotten around to it yet. It's been months, probably closer to a year, since I've had this image in my bin waiting to make use of itself. 

Well! It's got use now. At least one of the 5 images does...I'll have to get around to coloring the other ones and then turning them into something spectacular. 


If you'd like to make the Beehive card this is what you'll need:

Copic Markers (Y35, B39, C00, C2, YG63, E00, E23)
Spellbinders Nested Lacey Pennants & Labels 18
Martha Stewart "Daisy" Punch
MME PB&J "Sunny Day"
Paper Flowers

I apologize for the fact that I don't know what the stamps are from. They do go together, they're from the same company and came out at the same time. I want to say Great Impressions but I won't commit to that.

Thanks for stopping by! I hope you've been inspired! 

Sunday, February 3, 2013

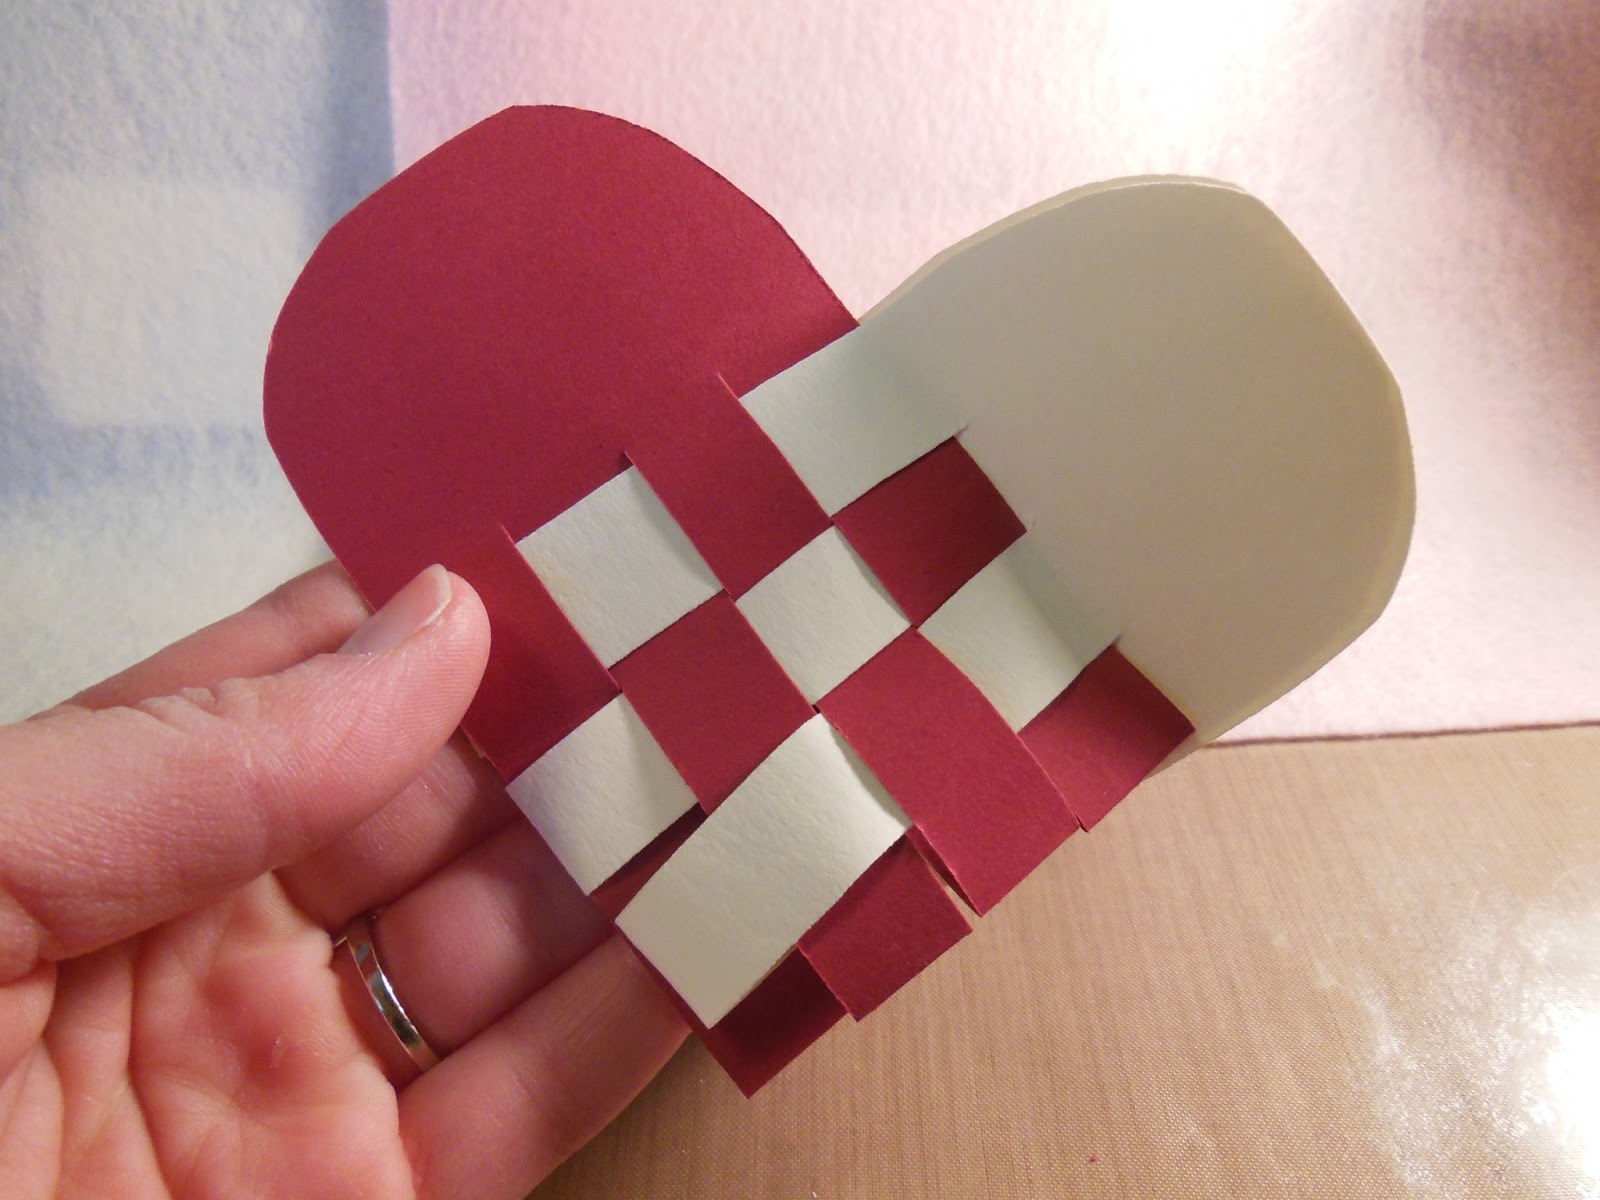
Danish Heart Baskets

This year for Valentine's Day I am making Danish Heart Baskets (typically made for Jul (or Christmas) in Denmark). Last night at work I found myself utterly bored out of my mind with my co-workers and decided to start making a heart basket. None of them had ever seen it before, and I always thought everyone knew how to make them. They're very simple once you get it down but it can take a few times before you get it right. At least that's what I learned from teaching one of my co-workers who wanted to learn how to make them last night. But after a couple of tries he was able to make them on his own and they looked better than mine! 
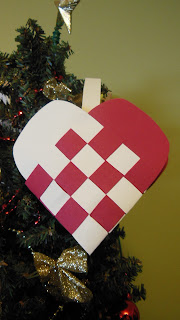

My grandma was born in Denmark but moved to the U.S. when she was still a baby. Her parents carried on many Danish traditions and over the years she has shared some with me. I can remember making these baskets with her when I was young, probably five or six, and we always make then in red and white glossy paper. The flag of Denmark is red and white so that's where the tradition came from. But I've seen other colors used, typically red is one of them though. 

MAKING THE BASKETS:

The first row is the easiest to weave, with the last being the hardest. This has to do with the fact that you have so much more room for your rows to move around in the beginning but as you near the end you have virtually no wiggle room. There are a few different ways to make the hearts to get differing patterns but I will show you the more basic of the designs. Using three rows is the easiest to begin with, I believe that is what I was initially taught with. Then you can add four or five rows. They get more time consuming and harder to weave as you increase the row amount. I will show you a four row Danish Heart Basket using red and white construction paper.


Start with two long ovals folded in half and cut 3 strips into each one starting at the fold and going towards to rounding top. Make sure your cuts are AT LEAST as long as your oval is wide (otherwise you won't be able to weave all of your rows and make them fit). 

*Remember your ovals are folded in half and cut, so there are TWO layers to them when they're folded. This is how you are able to weave the strips IN and OVER of each other to make a basket that will open up at the end. Be sure to weave IN and OVER, not just over and under.*


Take your white oval and open up the first strip and put it OVER the(1st)  red strip (red is INSIDE the white).


Take the same white strip and thread it IN BETWEEN the (2nd) red strip.


Take the same white strip and put it OVER the (3rd) red strip (red INSIDE white).


To finish your first row, thread your white strip IN BETWEEN the last (4th) red strip. 

Then scoot the entire first row up to make room for your next row.


Take your 2nd strip of white...


Thread it INSIDE the (1st) red strip (white INSIDE red)


Take the same (2nd) white strip and put it OVER the (2nd) red strip (red IN BETWEEN white)


Take the same white strip and thread it IN BETWEEN the (3rd) red strip (white INSIDE red)


To finish the second row, put the white strip OVER the red (red INSIDE of white)


This is what it will look like after the 2nd row is complete


For the 3rd row, take the 3rd white strip and put it OVER the 1st red strip ( so that red is IN BETWEEN white)


Take the same 3rd white strip, and thread it through the 2nd red strip (so white is IN BETWEEN red).

Then continue the pattern weaving in and out to finish the 3rd row. 

3rd white over red (so red is in between white)
3rd white in between red (so white is in between red)

Now to start the last (4th) row:


Thread the last (4th) white strip through the 1st red strip (white IN BETWEEN red)

And then continue the pattern:
White strip over 2nd red
White strip through 3rd red
White strip over 4th red


(This is right before you thread the last white strip over the 4th red strip) 


This is your final product!


You should be able to open it up and fit some goodies inside now!

You can add a thin strip from the middle of each side of the Heart Basket with adhesive so that it can hang.

Hope this tutorial is easy enough to understand. Happy Crafting, and Happy Valentine's Day!


Friday, February 1, 2013

DEER FRIEND


Stitched Ribbon
Alphabet Stamps (or at the store there is a new stamp that says this on display for V-day)
MME Die cut Olala
Paper:
Sassafras (deer)
MME Olala (orange)

Monday, January 28, 2013

Circle Overlay, Ocean Waves


So Dawn has created some new overlays for the store and of course they're just wonderful! :) Such as this lovely circle overlay. There's also hearts, chevron stripes, and hexagons to come! So be sure to check them out. 


Leann also wanted some new travel sample pages so I combined two new things into one. And a picture from my soon-to-be-sister-in-law's wedding last May. 


Items needed to make an Ocean Waves Circle Overlay Scrapbook Page:
Circles Overlay (from Picture This)
Sugartree :Seashellen #es04 paper
Scribble Scrabble: Summerdoodle paper
Twine
Seastar brads
Palm Tree stamp 
Tan/Yellow CS
A lovely picture on the beach! ;)

Enjoy your day. 
Think of the beach and warm weather for me because right now I'm stuck inside from a winter weather advisory-it's snowing/sleeting gigantic quarter sized snowflakes/hail out there! 

DayJan 28

Wintry Mix
30°FHigh
Wintry Mix
Chance of Precip:
90%
Wind:
SE at 11 mph
Humidity:
68%
Snowfall:
0 in
Past 24-hr Snow:Past 24-hr Precip:
0.07 in (est.)
0.6 in (est.)
Cloudy with a mixture of winter precipitation. Significant icing likely. Temps nearly steady around 30. Winds SE at 10 to 15 mph. Chance of precip 90%.


Sunday, January 27, 2013

Headboard Decor

Pinterest is so all the rage nowadays. On any given day I'd say I spend at least an hour on there looking at everything from recipes to home decor, beauty to crafts. I found the inspiration for this amazing project in the home decor section of Pinterest. There was a pin with a bedroom set and a lovely decoration above the head of the bed with a branch and some beautiful flowers hanging from it.

Here's the original pin I got my "pinspiration" from:


DIY Headboard. Find an interesting branch and mount it to the wall after hanging decorations from it.

So I recreated this idea with a big branch from my yard about the same length that my bed is wide. It has about a 3.5" diameter. All I did was purchase some flower garland and cut them into fourths so each flower section was about 1.5-2 feet long. I had 8 lengths of flower for my project (2 flower garlands). The garland I purchased was attached by a plastic chain link so it made it really easy to attach it to the branch. All I did was get some thick twine and tie a knot around the end of my branch and then string each piece of my flower garland onto the twine while continuing to twist it around the branch. I began my knot about 4" from the end of my branch and ended the same distance away from the opposite end.

The color palette in my spare room is very neutral so I used white flowers for this project.  There are many different varieties out there though. To hang my branch I drilled holes in the back of the branch in two different spots, drilling upwards near the edge and inserted some "S" hooks into the hole (It's all I had at home so I made it work! You could definitely use a different hook). Then I drilled holes into the wall where I wanted it to hang and inserted screw eyes so my "S" hooks would hang in them easily supporting my project.

And here's what I ended up with!


Here it is hanging in my craft room...


Hanging on the wall in the spare bedroom where it will be staying :)

I'm in love with it! The room is now complete, no more decor needed! :) :) :)

Have a great day! Thanks for stopping by.

Monday, January 21, 2013

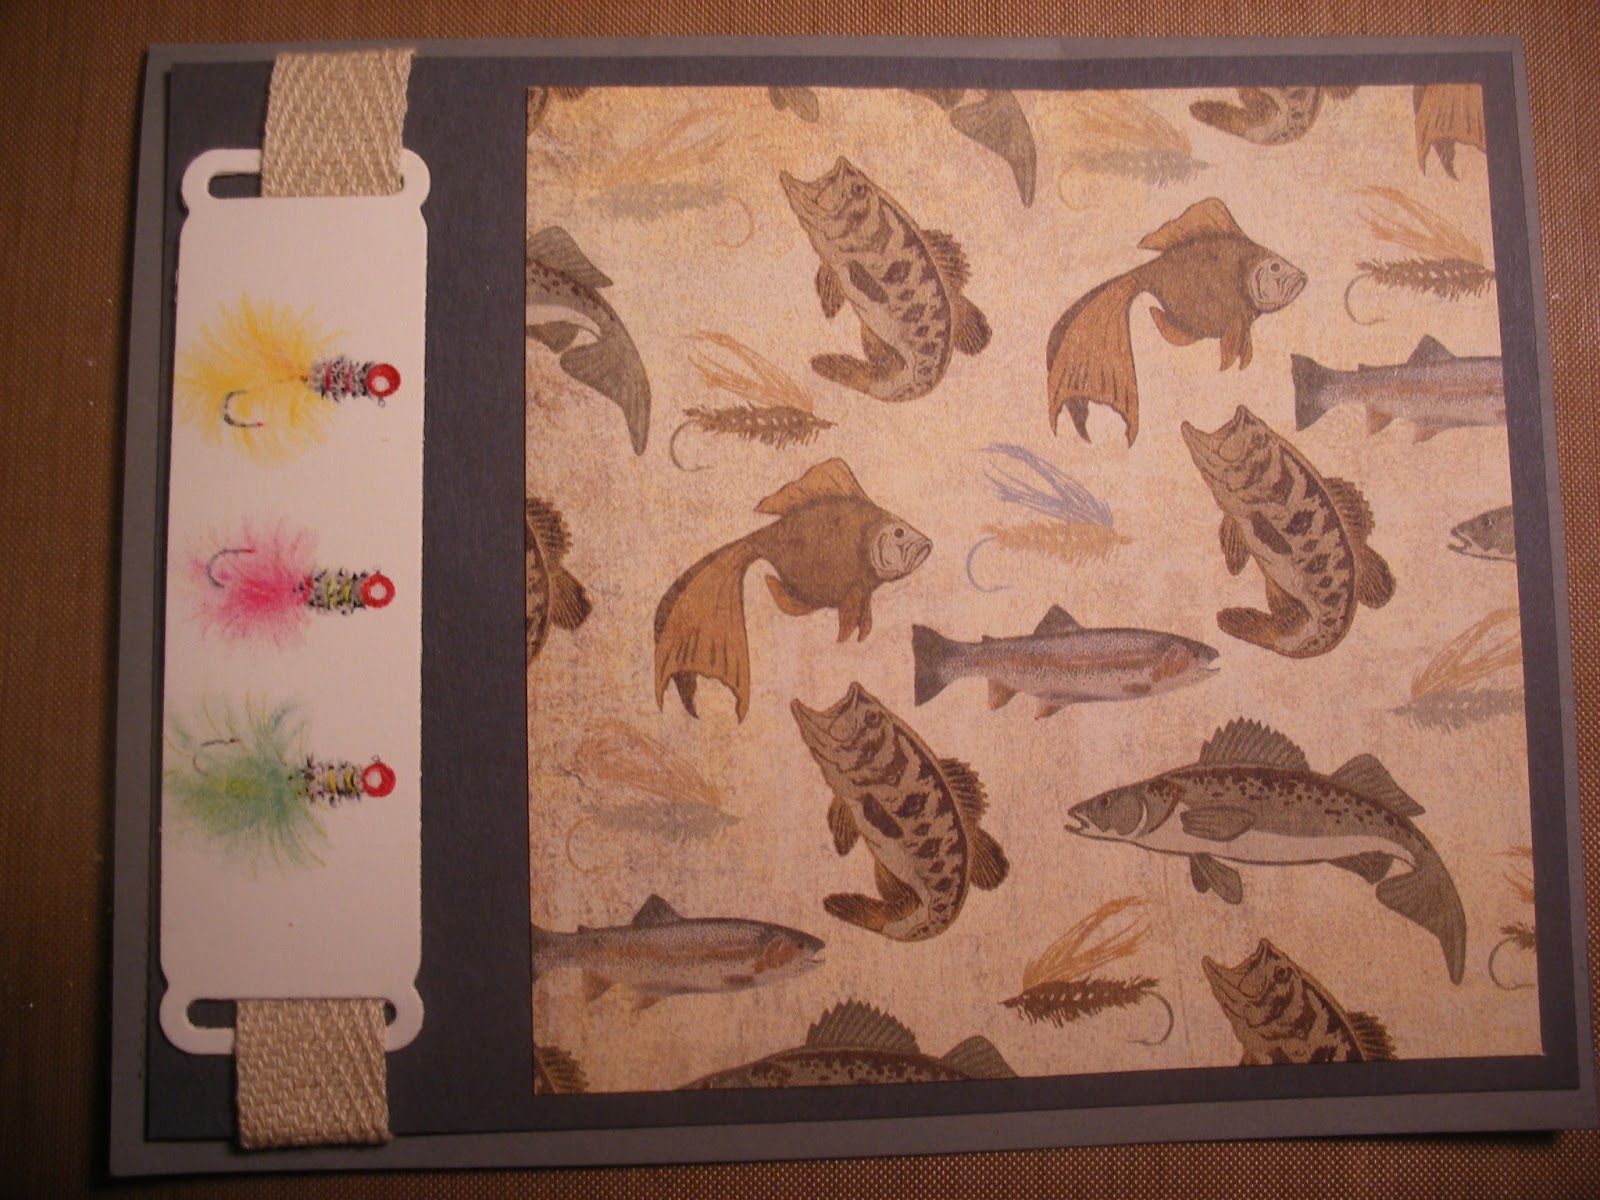
Fishies!


This is a MAN'S card. But it wouldn't mean nothing, without a fishie... or a hook. 


Yup, I went there. I was remaking a song. 
(This is a Man's World-James Brown)


Supplies you need to go fishing:
Spellbinders Ribbon Tag Trio 2
Susan Louise prints (the fish hooks)

Sunday, January 20, 2013

Poppies, Poppies, and {more} Poppies

I told you I love them. Here is more of Authentique's Poppy paper. If there anything I love more than the color or poppies, it's the color of poppies with that lovely Aqua color down there on those cards. My bedroom has that color scheme going on. The walls are a slightly lighter color than the poppies and our accent color is aqua blue. It gives the whole room a beach-y feel. Of course so do all of the accessories we've added to the room like beach photos form Jamaica, seashell wall hangings, a seahorse candle holder, you know the basics. 


To make a garden full of poppy cards:
Authentique's Poppy paper
Basic Gray paper
Bling
Spellbinders Ribbon Tag Trio 2
Spellbinders Blossoms Tags and Acccents
Die-namics Mini Doiley Circles
Judith Hello Lg Stub
Tim Holtz Distress Ink Broken China

Happy Planting

Friday, January 18, 2013

Graphic Bugs


I'd like to apologize in advance for the poor picture quality, but for some reason the light in my craft room and the light that my camera is able to capture just don't like to work well together when the subject of my picture taking has yellow or orange hues. (This isn't the first picture that I've posted that has had this problem as I'm sure someone has noticed, but you still get the gist of the card with this horrible lighting just not the pretty colors of the card.)

But anyway, onto the card.

Bugs are gross, but Graphic 45 was able to make them beautiful looking in this wonderful line of paper they've made called Olde Curiosity Shop. With the golden hue they were given and the stance of that fly, these bugs almost look regal.


Supplies to make a buggy card:
 Graphic 45 Olde Curiosity Shop paper
Spellbinders Inverted Scalloped Circles