Saturday, January 12, 2013

Peppermint Candy Christmas Ornaments


So I have been slacking for a VERY LONG time.
I haven't been on the blog.
I haven't even had time to create or buy anything to create with.
I don't know where all of my time has gone, but now I am making some time to update my blog at least. 
Many of the posts to come will be items from the Goodwill: old for me but new for you. 
It doesn't mean you can't still love the ideas and use them which is why I am posting them for you. 


So, the first order of business are these fun Christmas ornaments. Like I said, these are old, BUT it's never too early to be thinking about Christmas for NEXT year. These ornaments are super easy to make and there are so many different designs that you can make them with so that each one is unique. I made two different bodies for my Peppermint Ornaments. One is the typical wrapped peppermint silhouette (1) and the other is a larger circle (2) that resembles an UNwrapped peppermint. 

(1)

 (2)


Okay, so to make these ornaments you're going to need a few things:

Tim Holtz Mini Rosettes Die
Patterned Paper (I used a Red, White, and Green Christmas paper with diagonal stripes)
Ornament Hooks
Tiny Hole Punch
Glitter (I used White Martha Stewart)
Spray Adhesive or Modge Podge

Directions:
  1. Cut your paper into about 3"x12" Strips
  2. Cut out your die from this paper strip
  3. Fold the die and make your rosette (Use the big rosette for (2) and the small one for (1)). Do not put the extra circle it punches out onto the front of your ornament, only the back. You'll need to cut an extra small rosette for the ends of (1). To make (1) cut the extra small rosette at about 8 perforations (x2) and adhere them on opposite sides of the rosette you've assembled pinching in the end that you're adhering so that the other ends flares out.)
  4. Once your ornaments are assembled brush Modge Podge onto the surface of your ornament (the pretty side/front) using a big frayed paint brush or spray adhesive on the surface of your ornament (remember to protect the surrounding area from overspray). Then sprinkle on the glitter (or pour it on) until you've reached the desired sparkleness for your ornament.
  5. Lastly you're going to punch a (tiny) hole in the top of your ornament and insert the ornament hook. For (1) I punched the hole off center to give the ornament a more appealing look when it's hanging.
VIOLA!! A Beautimous homemade ornament!

Stay tuned for more posts coming from me very soon. 
I will be trying to update my blog much more frequently! 
Have a lovely day! 


Friday, September 28, 2012

Candy Sign

CANDY ANYONE?


I have had these popsicle stick fence pieces in the drawer in my crafting desk for at least four years from when my younger brother and I used to craft together. All we ever finished from the project was hot glueing the popsicle sticks together to make fence pieces. We also made a gate out of one of them (the C) by putting a drawer handle on it to look like a door handle and then glueing a popsicle stick diagonally onto the piece.
 
Anyway, I nailed them all together and cut out some pennants and made a Halloween sign out of them! :)
 
Materials:
 
Hot Glue
Popsicle Sticks
Spellbinders "Lacey Pennants" and "Inverted Scalloped Circles"
Graphis 45 Happy Halloween Collection "Pumpkin Time"
Reminisce Trick or Treat  "Spider's Trap"
MME The Spider's Web "Cauldron Bubbles"
C10 Copic

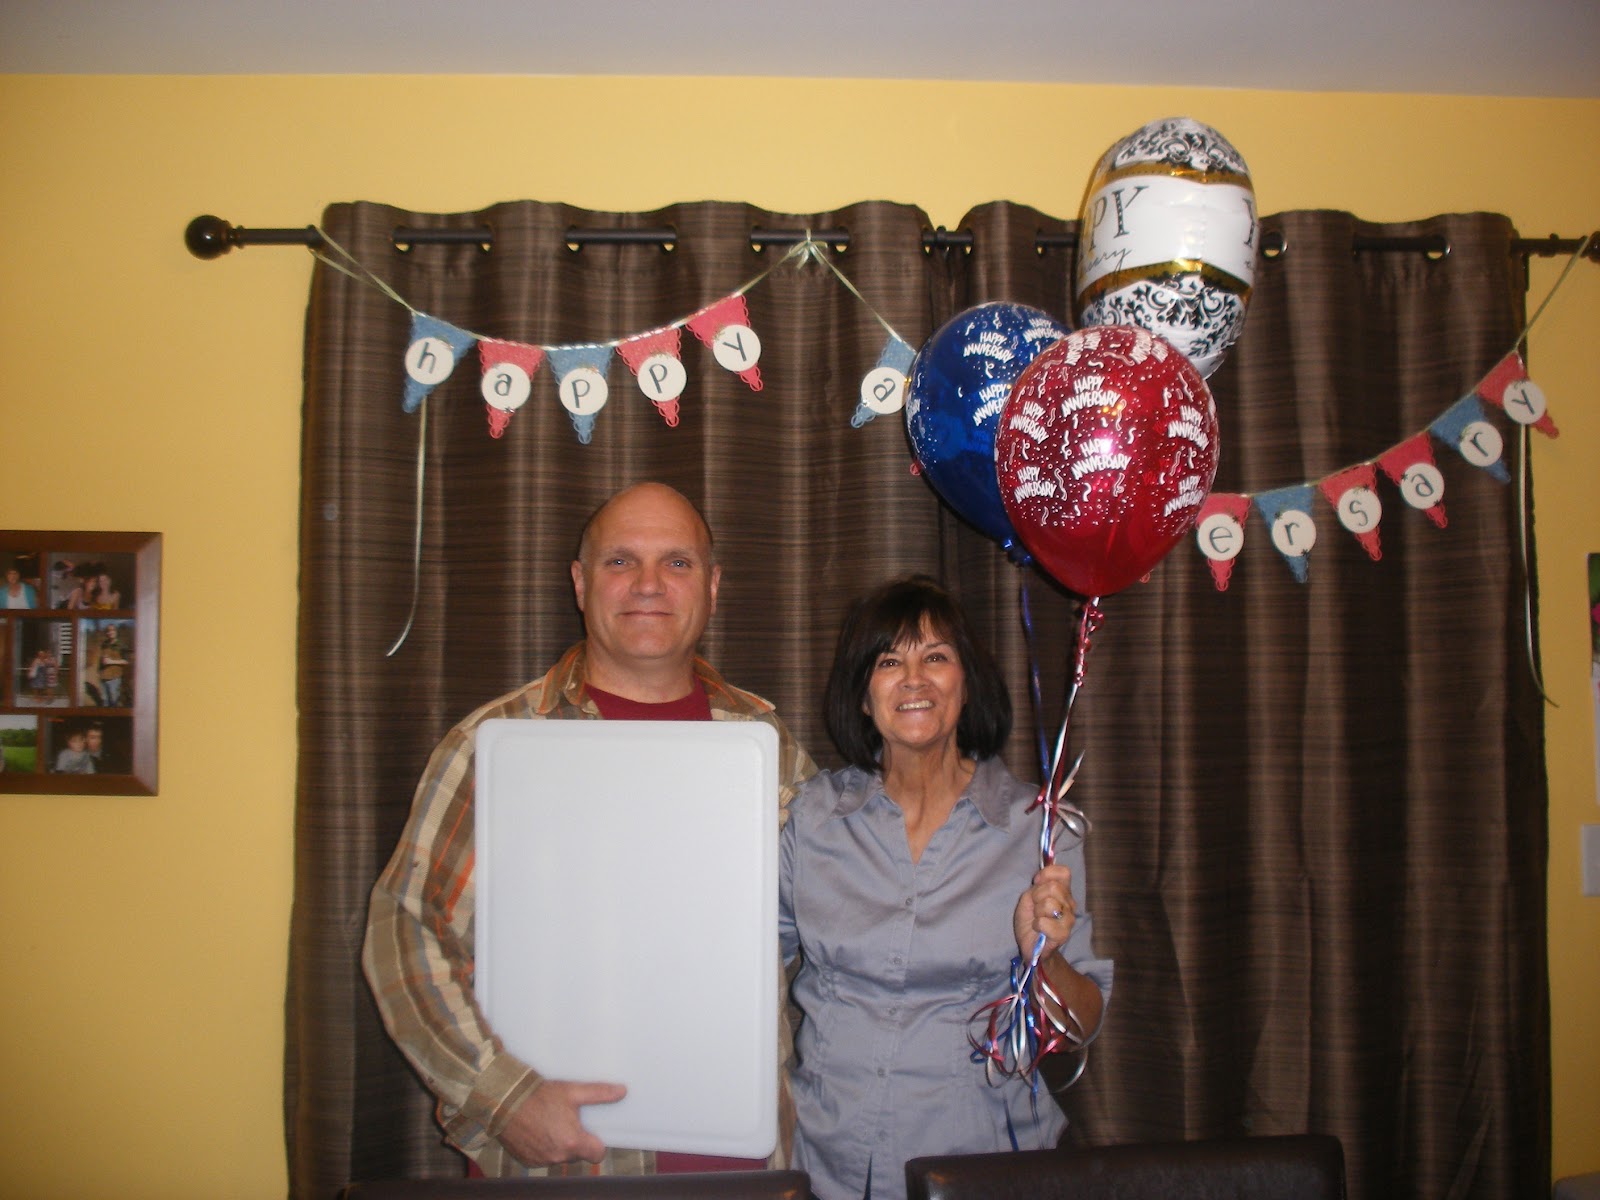
Happy Anniversary

 
Happy Anniversary!
 
It took me two and a half hours to make this banner, but it was worth it to see the joy it brought to the faces of my soon to be in-laws.


The celebrating couple.
 
 
The set-up.


The banner.

 
The details.
 
 
Materials:
  1. Paper- Echo Park Paper For the Record line, "Lazy Daisy" and "Diamonds". Crate Paper- Paper Heart Collection, "Delicate". Silver Mirrorcard. Cream Luster. Light Olive Green.
  2. Dies- Spellbinders "Lacey Pennants" and "Standard Large Circles". Martha Stewart "Branch" punch. EK Success"Daisy" punch.
  3. Green Ribbon.
  4. Copic Marker-C10 (lettering).


Thursday, September 27, 2012

Have a Frightful Halloween

I haven't posted in months! I feel likeI never have any time to create, but I have been buying and getting ideas like crazy. So there is a lot of new stuff that I have yet to play with but hopefully soon there will be some inspiration flowing from my blog yet again.

My biggest set back with creating is that I need some reason to create, and now that the holiday season is approaching, I have inspiration again!
 
Here's a card that I just whipped up with lots of new product from the store.


Martha Stewart Graveyard Edge Punch
Memory Box Dancing Skeletons die
Penny Black "Slapstick" Cling Stamps
Cuttlebug Tag Die

Thursday, June 28, 2012

BACKROOM BLOWOUT

Hey all you Picture This go-ers!
Friday and Saturday June 29th and 30th is Picture This's Backroom Blowout Sale!
CHA is fast approaching and there will soon be a ton of new product in the store so we have to make room for it all. This sale is the perfect time to stock up for all your summertime scrapping at a bargain price!!! Everything in the back classroom will be 50-75% off. Items will include product such as paper (like Graphic 45, Basic Grey, and My Minds Eye), stickers, stamps, and more! All at amazing prices.
You do not want to miss this awesome event!

Wednesday, June 27, 2012

Arboscello Tree

I finally got to play with the Memory Box Arboscello Tree. I've been waiting for it for a while, they sell out so quickly it's been hard to get my hands on one. And then I have to actually find time to make something with it. This is the first card that I made with this die, and I like it so much, as well as the paper, that I made 6 of the card, because you can never have too many sympathy cards within reach.


 Memory Box Arboscello Tree
Stamp N Plus (Chippewa Falls) Sentiment
Authentique paper

Monday, June 25, 2012

Fab 5

McRice has new medleys out an we are loving them!

Here's what I came up with from their Fall Medley.


I used a flower picture that they  had on their medley and cut out flowers for my card from them to give my flowers a funky design.

Here's everything that I used:


McRice Fall Medley
Spellbinders Fancy Tag Trio
Martha Stewart Branch Punch
Cheery Lynn Sweet Williams D 137 dies
Basic Gray Hello Lucious paper
Anna Griffin corner Punch

I got my creative juices flowing and made more cards with the Fall Medley too!


McRice Fall Medley (Crow)
Kaiser Craft "Reunion" (Background)
Spellbinders Tag Trio Two
Spellbinders Standard Lg Circle
Memory Box Grapevine Wreath
Judith Bat Lg Stubby
Twinery Brown Stripe Twin
Great Impressions Have a Frightfully Fun Halloween C405
Memento Black Ink


McRice Fall Medley (pumpkin)
Memory Box Wrought Iron Fence
Spellbinders Standard Lg Ovals
Great Impressions BOO! A135
Memento Black Ink

Sunday, June 24, 2012

Fab 5 is Tomorrow

Fab 5 is here tomorrow and it's only for one day. Check out what the girls have come up with this month and be sure to comment!

Friday, June 22, 2012

Mark your calendars for next Monday 25th....it will be time for another Fab 5. This one will feature the new Medleys by McRice. And you can join in on the fun. Check out the Picture This Facebook page for details. Then tune in Monday for a good dose of inspiration.

Best Wishes

This card was made with the new Cheery Lynn die Wedding Vows FRM 138.
Then I added a Lg Scalloped Oval and a Lg Standard Oval in white outlined in Memento Rose pink ink and stamped a sentiment on the inside oval.
The flowers were cut out using EK Success's Daisy flower punch.
I added some Stickles to add sparkle to the flowers.